A useful Nano Banana infographic prompt specifies the figure's purpose, exact objects, connections, labels, layout and exclusions. The five templates below help you turn a scientific explanation into a brief you can verify against the generated draft.
These are original prompt starting points, not tested Nano Banana 2.1 outputs or claims of scientific accuracy. Replace every bracketed placeholder before generating. The illustration was generated with the built-in image_gen tool; it is not a Nano Banana 2.1 test output.
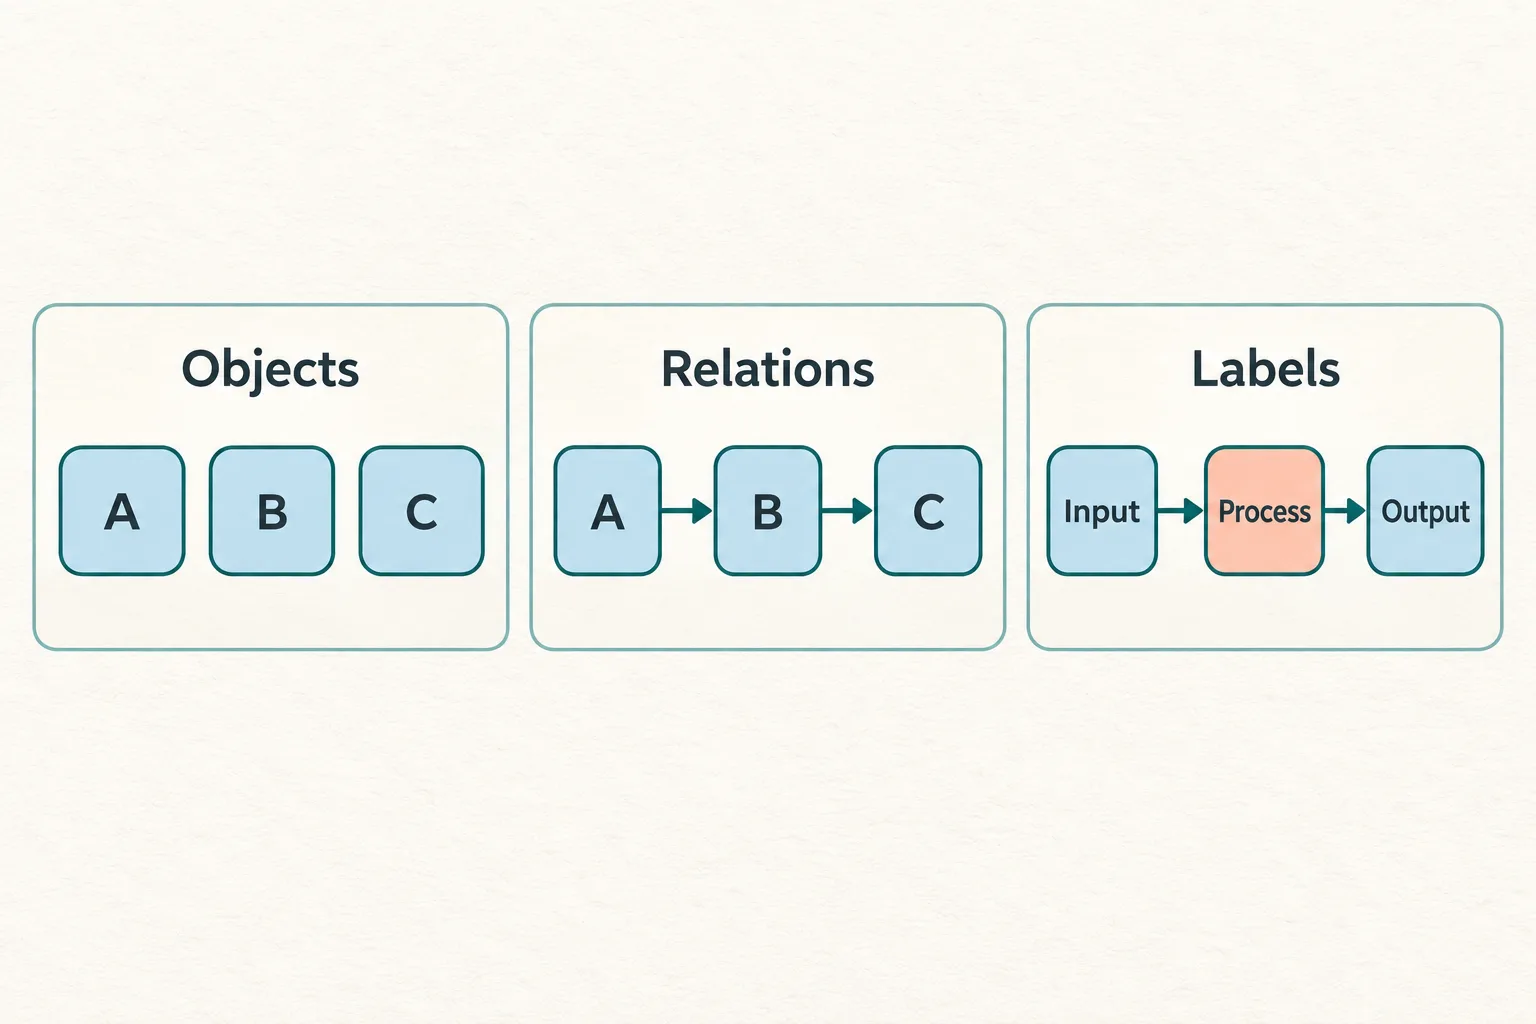
Original AI-generated explanatory illustration showing objects, relations and labels; no measured results.
For release details and model access, read the Nano Banana scientific-figure guide. This page focuses on prompts and diagnosing the resulting figures.
Copy this complete starter prompt
Create a three-panel infographic explaining how to brief a research figure.
Panel titles must be exactly "Objects", "Relations", "Labels".
Objects: show separate boxes A, B and C.
Relations: show A -> B -> C, with only these two directed connections.
Labels: preserve the three-box chain and use Input, Process and Output.
Use a white background, dark sans-serif labels, blue outlines and consistent strokes.
Do not add data, equations, molecular structures or extra connections.
This structure suits conceptual and process infographics. The templates on this page focus on research communication. For numerical infographics, plot the real data first and arrange the explanation around it; do not ask an image model to guess values. The five templates below cover different research-briefing tasks and can be adapted to Nano Banana 2.1.
Before you copy a prompt
Write your labels and relationships in a separate note. For example, A -> B means a directed connection, while A inhibits B needs an explicitly defined inhibition symbol. If a relationship is proposed rather than established, give it its own line style and explain that style in a legend.
Choose a figure shape for the destination: a slide, a manuscript column or a journal graphical abstract. Configure the actual aspect ratio and size in the generation interface when those controls are available. Ask for short labels; put long explanations in the caption.
1. Method diagram / Figure 1 prompt
Use this when readers need to understand how your method transforms its inputs into outputs.
Create a conceptual method overview for a research paper.
Main message: [ONE SENTENCE EXPLAINING THE METHOD].
Include exactly these modules: [ORDERED MODULE LIST].
Inputs: [INPUTS]. Outputs: [OUTPUTS].
Draw only these directed connections: [COMPLETE EDGE LIST].
Place [MODULE] above [MODULE] to show [SPECIFIC RELATIONSHIP].
Use these exact labels: [LABEL LIST].
Use a left-to-right layout, white background, dark sans-serif labels,
consistent outlines and one accent color for [YOUR CONTRIBUTION].
Do not invent modules, feedback loops, performance plots or equations.
Leave enough space between connectors and labels.
For a layered architecture, replace the left-to-right instruction with an explicit ordering of layers. If your method has a training branch and an inference branch, name both and state which modules they share.
Check: count the modules, trace each connection and make sure the accent color does not imply a contribution you did not make. For more layout options, see Figure 1 patterns.
2. Biological mechanism schematic prompt
Use this for an explanatory schematic built from relationships you have already verified. It is not a substitute for a molecular structure or microscopy image.
Create a conceptual biological mechanism schematic of [PROCESS].
Use only these entities: [ENTITY LIST].
Place each entity in its stated compartment: [ENTITY -> COMPARTMENT LIST].
Established relationships: [VERIFIED RELATIONSHIP LIST].
Proposed relationships: [EXPLICITLY IDENTIFIED HYPOTHESES, OR NONE].
Legend: solid arrow = [MEANING]; T-bar = inhibition;
dashed arrow = proposed relationship.
Render these exact labels: [LABEL LIST].
Use a white background, clear compartment boundaries and a restrained palette.
Represent molecules with abstract labeled symbols, not invented chemical structures.
Do not add pathways, organelles, receptors, scale bars or results.
Check: compartments, arrow signs and legend meanings. If a dashed arrow comes back solid, the image has changed the evidence status of that relationship. Correct it before working on color or spacing.
3. Experimental workflow prompt
Use this for a sequence of activities, such as sample preparation followed by measurement and analysis. Supply the real ordering and conditions.
Create an experimental workflow schematic.
Steps in order: [NUMBERED STEP LIST].
Starting material: [MATERIAL]. Final output: [OUTPUT].
Branch only at [STEP], according to [REAL BRANCH CONDITION].
Branch labels must read exactly [LABEL A] and [LABEL B].
Show these sample identifiers: [IDENTIFIERS, OR NONE].
Use evenly spaced stages, short captions and distinct branch connectors.
Use generic equipment icons without fabricated brand names or settings.
Do not add sample counts, durations, doses, plots or measurement values.
Check: an icon should not silently change an instrument or procedure. Confirm that samples do not merge before the real protocol combines them. Put detailed operating parameters in the caption or methods text.
4. Graphical abstract prompt
Use this to communicate one supported takeaway rather than every section of the paper.
Create a graphical abstract with three panels.
Panel 1, question: [RESEARCH PROBLEM].
Panel 2, approach: [ESSENTIAL METHOD].
Panel 3, supported takeaway: [RESULT WITH ITS SCOPE AND QUALIFICATION].
Key objects: [OBJECT LIST].
Connections between objects: [RELATIONSHIP LIST].
Exact visible labels: [SHORT LABEL LIST].
Use a single left-to-right reading path and one visual focal point per panel.
Show no numerical charts unless they are supplied as verified source material.
Do not turn associations into causal arrows or hypotheses into established facts.
Do not add claims of clinical benefit, novelty or superiority.
Check: the result panel should preserve the scope of the result. A finding in a specified experimental system should not become an unqualified claim about people or another system. Our graphical abstract tutorial explains how to extract the brief from a manuscript.
5. Revision prompt with a preservation list
Use this with an existing draft when you can name a specific defect.
Edit the attached conceptual figure.
Change only these items:
1. [SPECIFIC LABEL, CONNECTOR OR POSITION CHANGE].
2. [SECOND CHANGE, IF NECESSARY].
Preserve: [OBJECTS, LABELS, CONNECTIONS AND STYLE TO RETAIN].
Remove: [EXPLICIT UNWANTED ITEMS, OR NONE].
Add: [EXPLICIT REQUIRED ITEMS, OR NONE].
Do not rewrite other labels or introduce new relationships.
Check: compare the complete figure with the previous version. A preservation instruction expresses your intent; the returned image still needs inspection.
Troubleshooting: change the brief that caused the error
| Draft problem | Next instruction |
|---|---|
| An extra module appears | Specify the exact module count and complete list |
| An arrow is ambiguous | Name its source, destination and meaning |
| A label is misspelled | Supply the exact text; shorten or edit it separately if errors persist |
| The result is overcrowded | Move secondary explanations into the caption |
| An edit changes other objects | Reduce the requested changes and compare with the saved draft |
| A figure looks polished but says the wrong thing | Rebuild the object and relationship brief before restyling |
From a prompt to a usable research figure
Save the brief, prompt, model name and selected draft together. Review the meaning, then typography, then export size. For labels you need to move individually, use an editable diagram workflow rather than relying on repeated image generations.
You can reuse these briefs with models available in the PaperBanana generator. Nano Banana 2.1 availability in PaperBanana has not been confirmed as of October 7, 2026; select from the actual model list. See the editable SVG guide for the subsequent editing step.