Resize an image for free, without uploading it
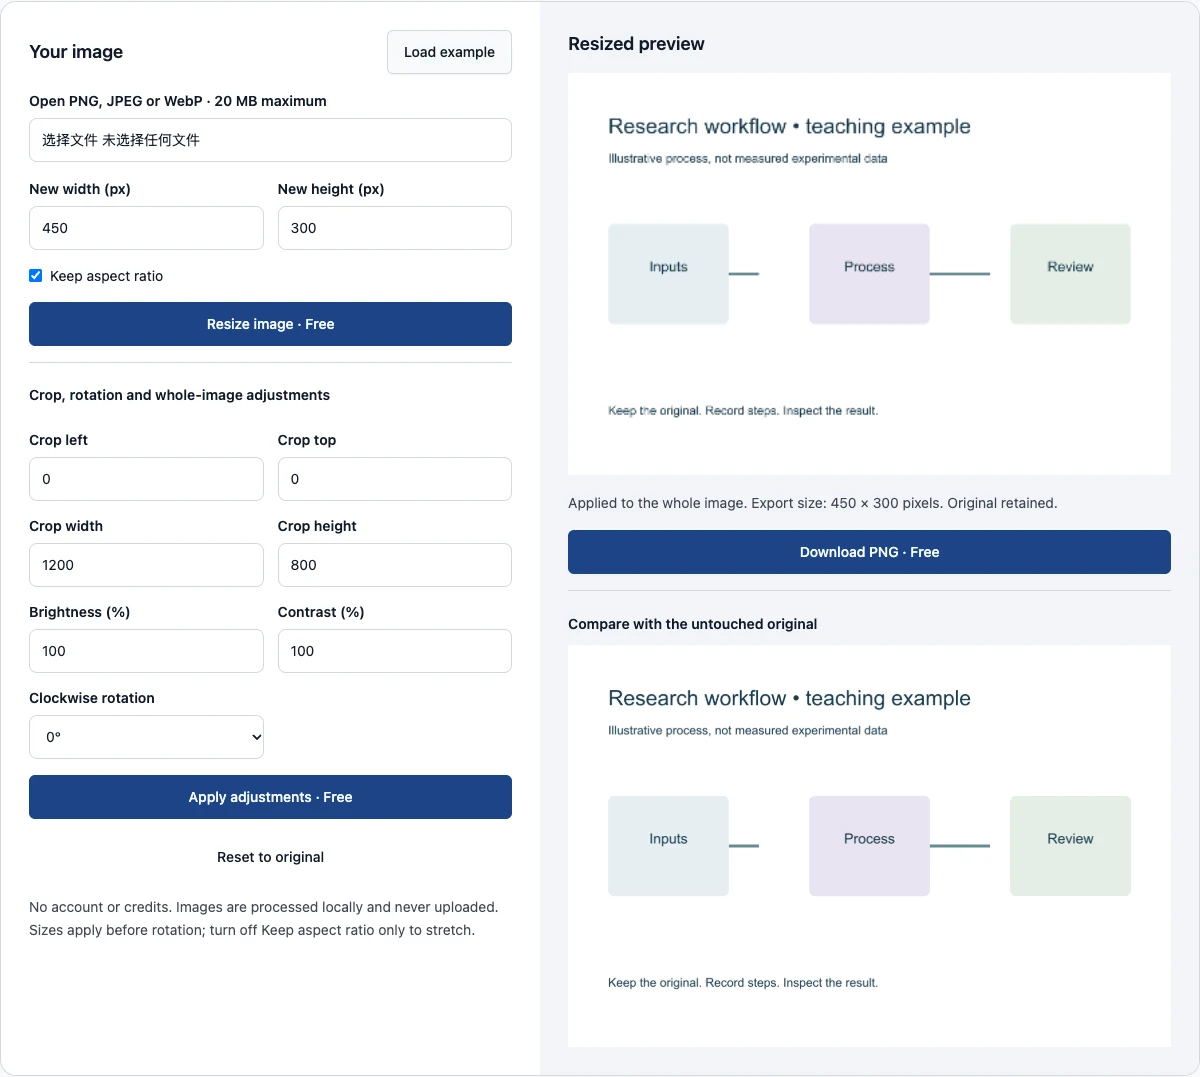
Resize an image for free in your browser: open a PNG, JPEG or WebP file, type the pixel width you need and the height follows the original proportions. The same page can apply a rectangular crop, a quarter-turn rotation or a whole-image brightness and contrast adjustment when an existing research figure needs more than a new size. The original image remains available for comparison and reset. You download a new PNG rather than modifying the source file, and no account or credits are required for these operations.
The tool processes images in your browser. It does not submit the selected file to the image-generation service. Start with the built-in teaching image to understand the controls, or open your own file. Change the dimensions, apply the settings and inspect the preview before downloading. Settings changes disable export until they are applied, so the downloaded image corresponds to the rendered preview. Open the original-comparison section when you need to check what changed.
Examples you can inspect
Compare the supplied input, saved result and review points before preparing your own figure.
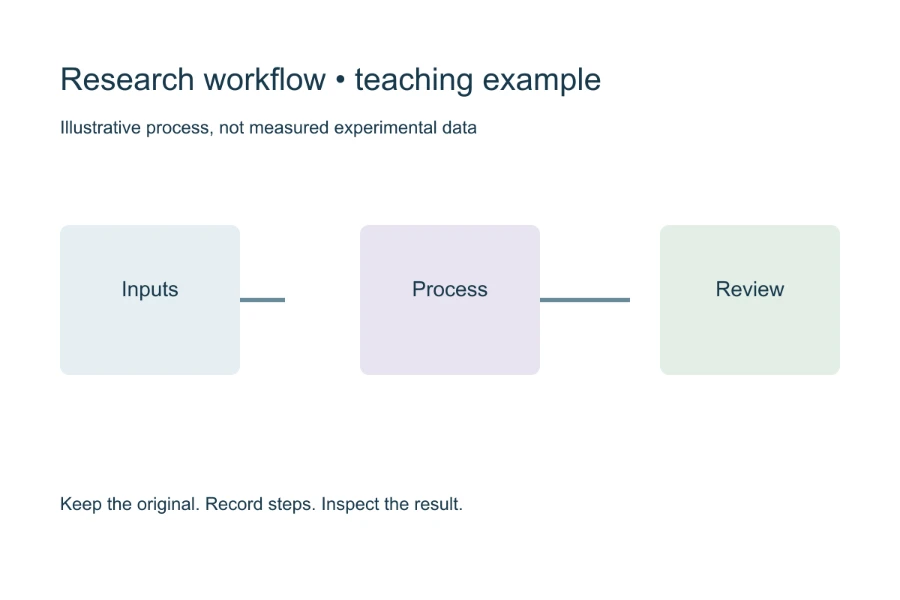
Example: resize a schematic for a draft
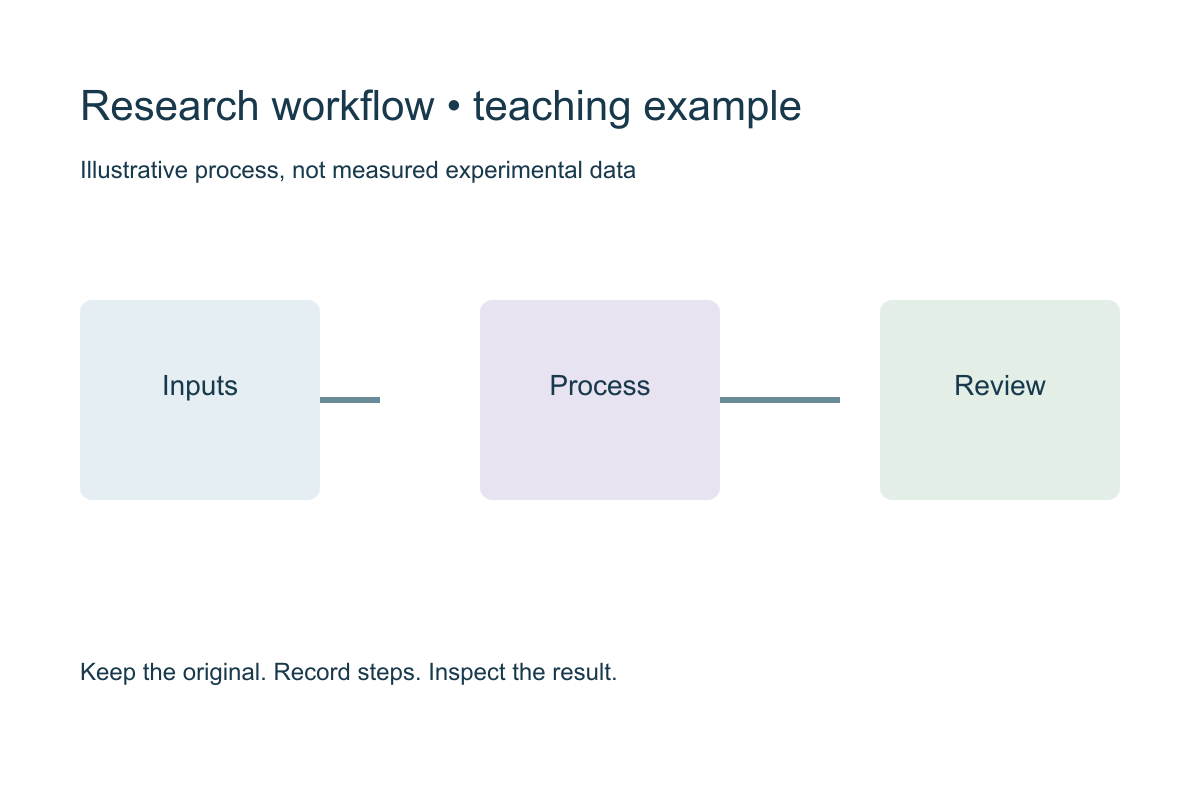
The first example uses a fictional workflow image with a twelve-hundred-by-eight-hundred-pixel canvas. Reducing it to nine hundred by six hundred preserves the three-to-two aspect ratio. The browser resamples the entire image into the smaller output. This can make a draft easier to share or fit into a document, but it also reduces the number of pixels available for small labels. The saved example shows the actual local output rather than an idealized design mockup.
Inspect text, thin lines and arrowheads after resizing. A simple schematic may remain readable, while an image with tiny annotations can lose useful detail. Keep the original or a vector master so that you can produce a larger final file later. Width and height are independent fields in this editor; entering a different ratio will stretch the content. Calculate matching dimensions yourself when preserving the original proportions is important.
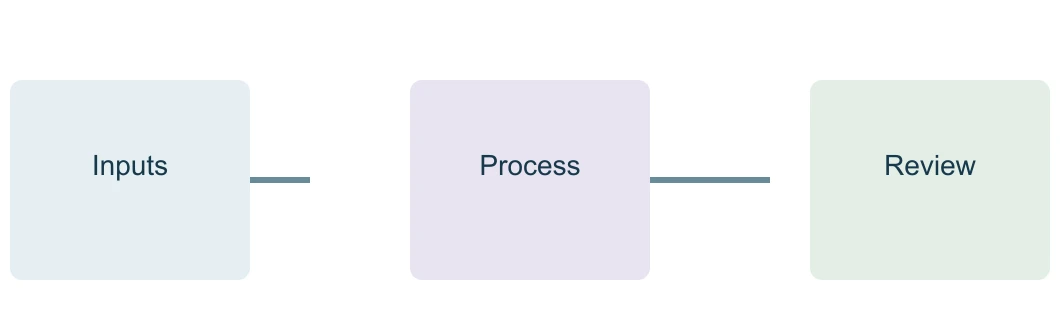
Example: crop unused margins
The second example trims a rectangular region from the teaching image before exporting. The crop coordinates refer to the original image: left and top identify the starting pixel, while crop width and crop height define the region's size. A crop that extends beyond the original boundaries is rejected. The saved result demonstrates a smaller framing of the same source, not a removal of inconvenient scientific evidence.
Use cropping to remove genuinely unused margins or focus a schematic on the intended panel, while retaining labels, scale bars and required context. For a research image, a cropped region can change interpretation even though no pixel within it is selectively edited. Keep the full source and document the crop where relevant. Review the original side by side and ask whether important neighboring structures or comparison regions have been excluded. The tool cannot determine whether a crop is scientifically appropriate.
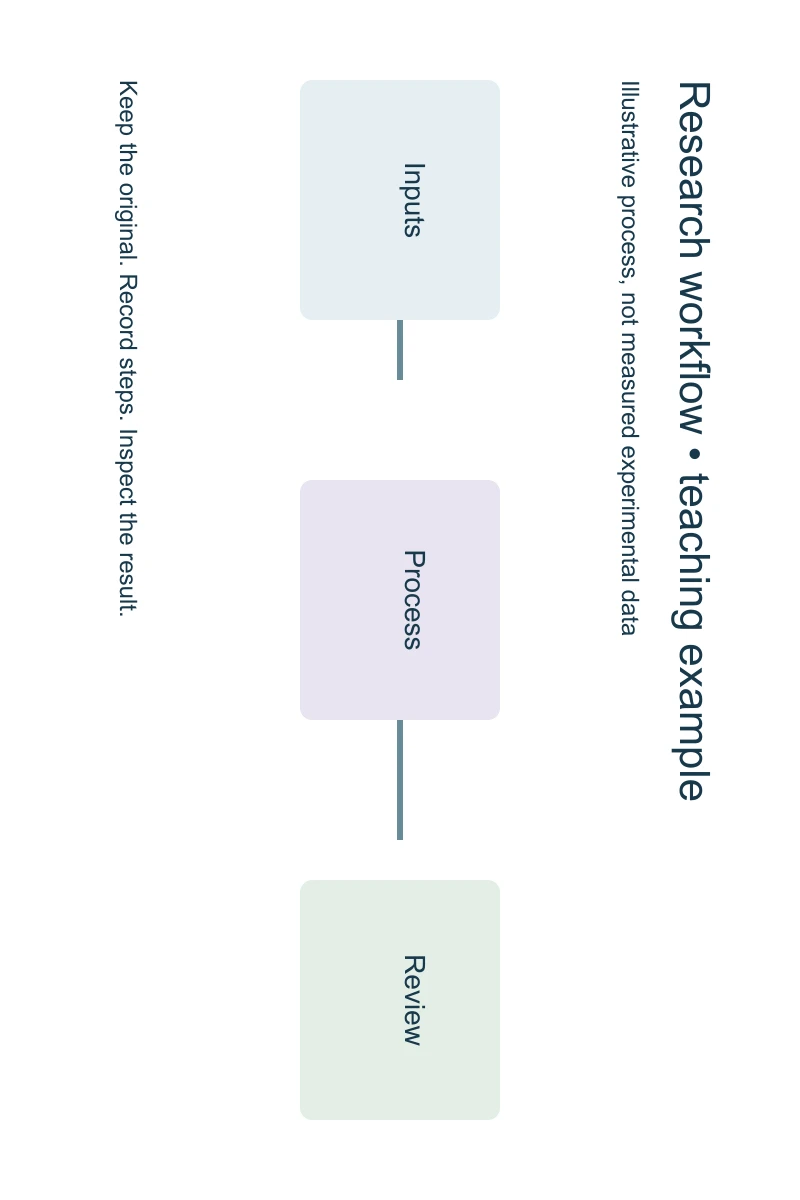
Example: rotate a diagram by a quarter turn
The third example rotates the teaching image ninety degrees clockwise. Quarter turns avoid the arbitrary-angle resampling and empty-corner choices associated with free rotation. For ninety or two hundred seventy degrees, the final width and height are exchanged after the chosen pre-rotation resize. This is visible in the status message, which reports the exported pixel dimensions. The saved output allows you to inspect the actual orientation and text direction.
Rotation is useful for correcting an image that arrived in the wrong orientation, but a diagram with embedded text may become less readable when the whole canvas turns. Check axis directions, orientation labels and any anatomical reference after rotating a research figure. A correct-looking layout is not evidence that orientation remains appropriate. If individual labels need to remain upright while shapes rotate, use a vector editor or the original authoring tool rather than rotating the flattened image.
Choose a file the browser can handle
The upload control accepts PNG, JPEG and WebP files up to twenty megabytes, with an image area of at most twenty-four megapixels. These limits keep local decoding and canvas work reasonably bounded. They are not a promise that every device will process a maximum-sized file comfortably. A large image can still consume substantial browser memory, especially when the original and adjusted version are present together. Use a smaller working copy when your device struggles.
The output is a PNG. The tool does not open TIFF, PDF, SVG, scientific raw formats or a multi-page document, and it does not preserve specialized metadata. If the source contains an animation or application-specific layer structure, that is outside this workflow. Keep your original file in the application that created it. The browser preview is a decoded image, not a complete representation of every property stored in the source container.
Set output dimensions deliberately
Enter whole-pixel width and height before rotation. Keep aspect ratio is on by default: change one dimension and the other is recalculated from the current crop, rounded to a whole pixel. For example, a twelve-hundred-by-eight-hundred image becomes nine hundred by six hundred when you type a width of nine hundred. Switch the option off only when you intend to stretch the image; an output of nine hundred by eight hundred would distort the geometry. This matters for diagrams as well as photographs and measurement images.
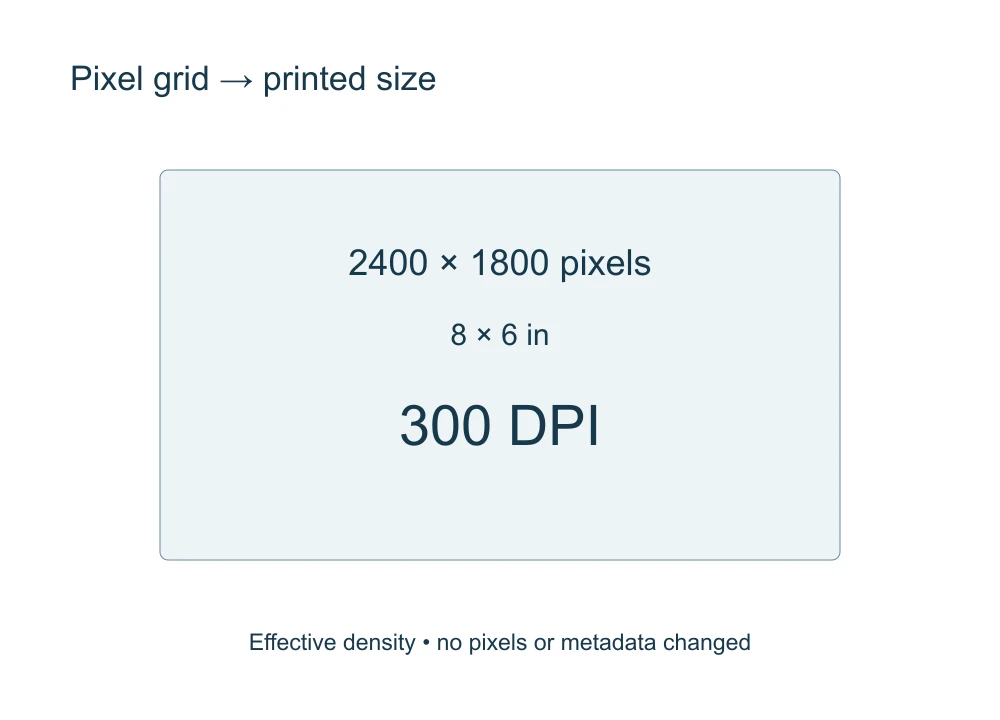
Resizing changes the raster grid through browser resampling. Making the grid larger does not recover details absent from the original. If publication requires clearer labels, return to a vector or higher-resolution source rather than assuming that upscaling makes the figure scientifically more informative. The DPI calculator linked below can help relate a chosen pixel size to a printed size. It does not turn an enlarged file into a higher-detail source.
Understand the crop coordinate system
Crop values always refer to the untouched original, not the last adjusted preview. This makes repeated experiments reproducible: applying a new setting starts from the same source pixels instead of progressively cropping or resampling an already changed result. Left and top are nonnegative whole-pixel offsets. Crop width and height must be positive, and their combined boundaries must stay inside the original image. Reset restores the full original region and default output size.
The tool then resizes that crop to the requested output dimensions and applies the rotation. If the crop ratio differs from the output ratio, the selected region is stretched. Check both ratios when preserving shape matters. The current editor uses numerical rectangular coordinates rather than a draggable selection overlay. That makes the chosen values explicit, but it also means you should inspect the rendered result carefully rather than assuming that the requested rectangle retained every important element.
Apply brightness and contrast uniformly
Brightness and contrast are whole-image controls, expressed as percentages. One hundred percent leaves that setting unchanged. Values range from zero to two hundred percent. The browser applies the same filter to the entire drawn image, not to selected cells, bands, regions or individual data points. That uniformity is useful for simple presentation preparation, but it does not establish that a particular adjustment is appropriate for a research result.
A global adjustment can still hide faint features, clip highlights or alter the impression of a comparison. Keep the original, inspect the result and follow the applicable reporting practices for your material. If several images will be compared, consider whether consistent processing is required and document the parameters. This tool does not normalize intensities, quantify signals or preserve raw acquisition data. Use your scientific analysis workflow for measurements rather than reading numerical meaning from the adjusted display.
Compare before deciding to export
The adjusted canvas shows the last applied settings. The original-comparison section shows the unchanged source image. Use it to check framing, orientation, labels and the visibility of subtle details. A changed setting does not silently update the export; the page marks the preview as out of date until you apply the new values. This makes the transition from draft settings to a downloadable result explicit.
Reset to original discards the current adjustment parameters and redraws the source. It does not delete your disk file or replace it with the download. Repeated applications start from the original, avoiding cumulative degradation from a chain of resized previews. The new PNG has its own filename, so you can keep both versions. For research materials, retain the chosen settings in your own records when processing details may affect how the image is interpreted.
Prepare a final figure with the right workflow
This adjuster is intentionally limited to raster preparation. It does not edit individual text labels, move vector objects, remove backgrounds, retouch selected regions or generate new scientific content. For a schematic that needs a corrected arrow or annotation, return to its authoring source or use a suitable vector editor. For an AI-generated draft requiring a substantive change, use the existing figure workspace and review the result against the original brief.
Downloading a PNG does not certify journal readiness. Check the final physical size, required resolution, color handling and accepted formats for the destination. Browser canvas export may omit source metadata and use a different encoding from the input. Keep the untouched original and inspect the file in the application that will assemble the final figure. The practical goal is a reviewable new copy, with enough visibility into the changes to make an informed choice.
Questions about resizing images for free
Does opening a file upload it?
This tool decodes and adjusts it locally in the browser. It does not create a server-side generation task or charge credits.
Can I undo the adjustments?
Reset restores the original pixels and full crop. The exported PNG is a separate file and does not replace your source.
Why is the download disabled?
Settings have changed or an input failed validation. Apply valid settings so that the preview and output match.
Does enlarging the image improve its real resolution?
It creates more output pixels through resampling, but it does not recover missing detail. Use a higher-quality source when labels or measured structures are inadequate, and calculate effective print DPI separately.