Check resolution at the size you will print
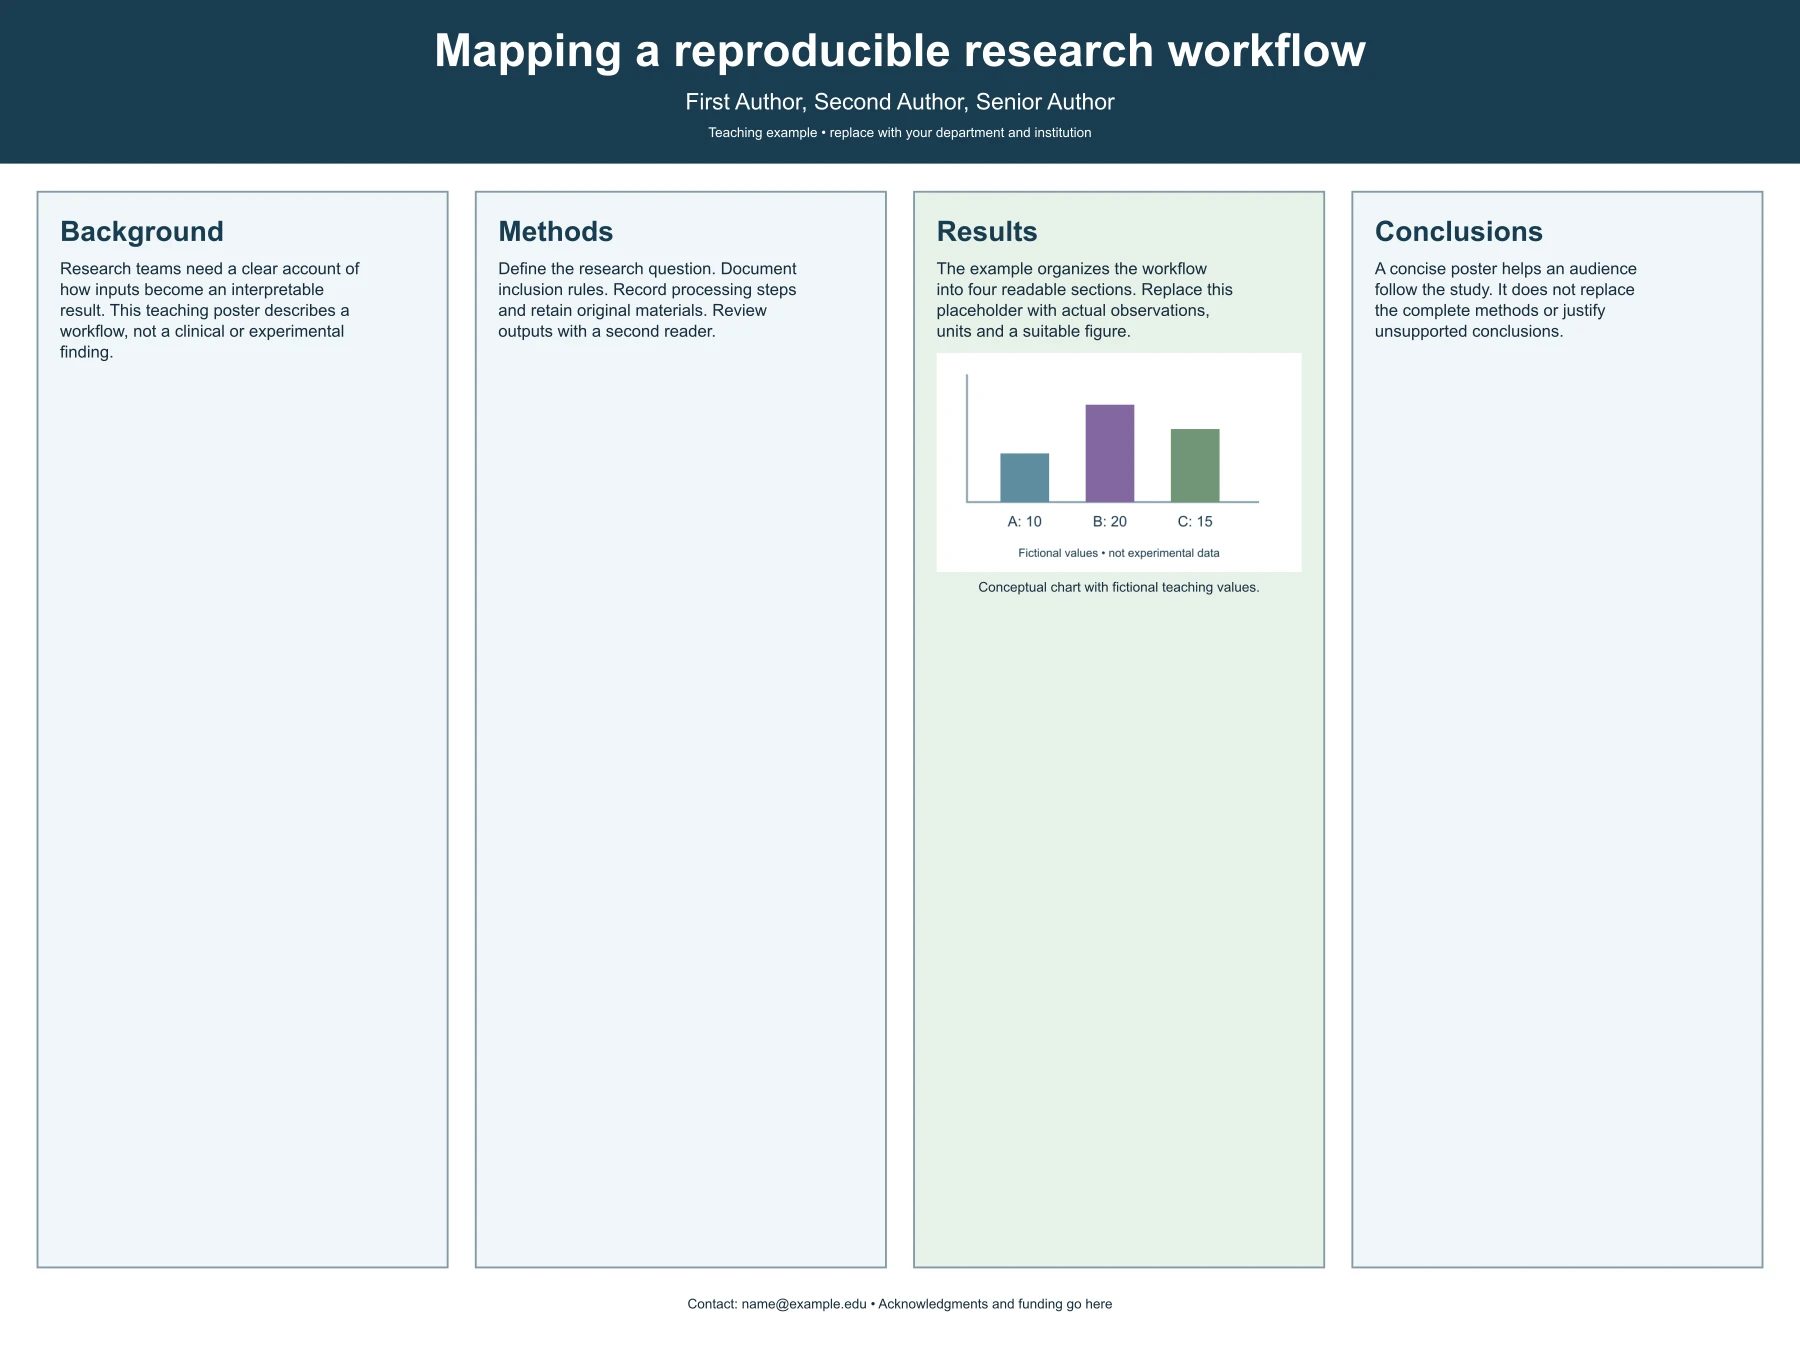
This image DPI calculator relates pixel dimensions to the physical size of a printed image. Enter pixel width and height, choose inches, centimeters or millimeters, then provide the intended printed dimensions. The page calculates effective horizontal and vertical DPI immediately and compares both axes with your chosen target. You can also open a PNG, JPEG or WebP locally to read its decoded pixel dimensions. The selected image is not sent to an image-generation service.
DPI is a relationship, not a guarantee of visual quality. A sufficiently large raster grid can still contain blurry labels, compression artifacts or an unsuitable source image. Conversely, a vector drawing can remain sharp when scaled without being described by one fixed raster DPI. Use the calculation to assess raster output, then inspect the actual figure and follow the destination's current requirements. The default three-hundred-DPI target is an editable example, not a universal rule for every journal or type of artwork.
Examples you can inspect
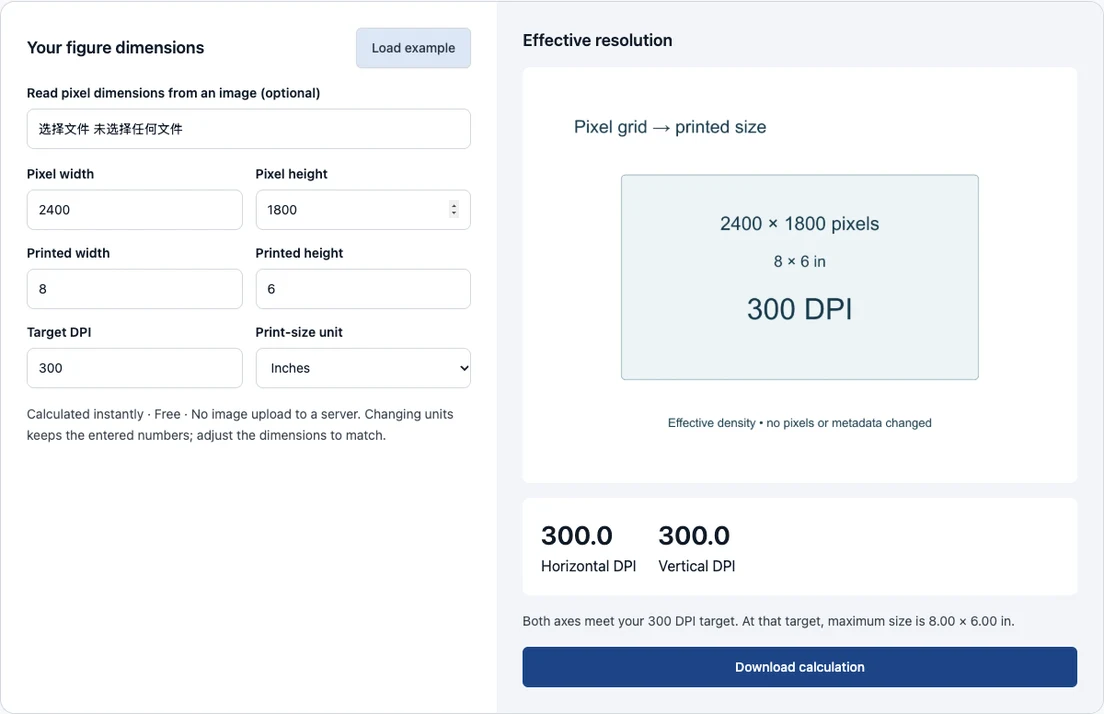
Compare the supplied input, saved result and review points before preparing your own figure.
Example: the same image at eight by six inches
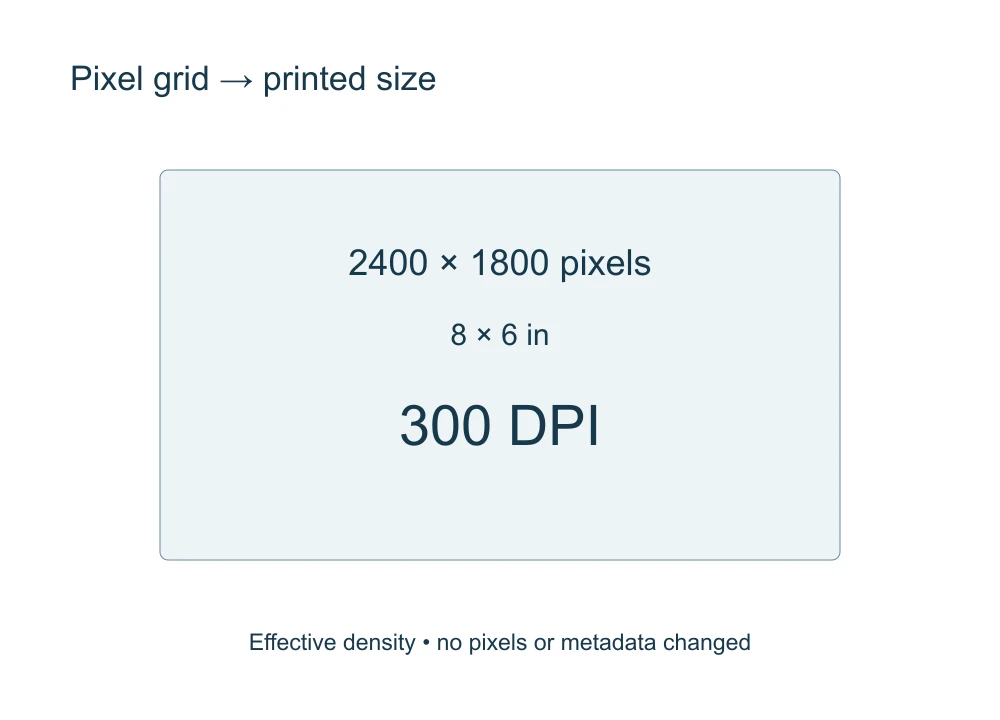
The first example uses a twenty-four-hundred-by-eighteen-hundred-pixel image at eight by six inches. Dividing pixels by inches gives three hundred DPI on both axes. The pixel ratio and print ratio match, so the calculation describes a uniform scale without stretching. The saved visual explains the chosen dimensions; it is a teaching diagram rather than a scientific image or proof that a particular journal accepts the file.
Use this case to check the formula yourself. A width of twenty-four hundred pixels divided by eight inches gives three hundred. The height calculation reaches the same value independently. If the two axes disagree, inspect whether the intended physical shape matches the source. The tool reports both values rather than averaging them, because an average could conceal the axis that falls below your selected target.
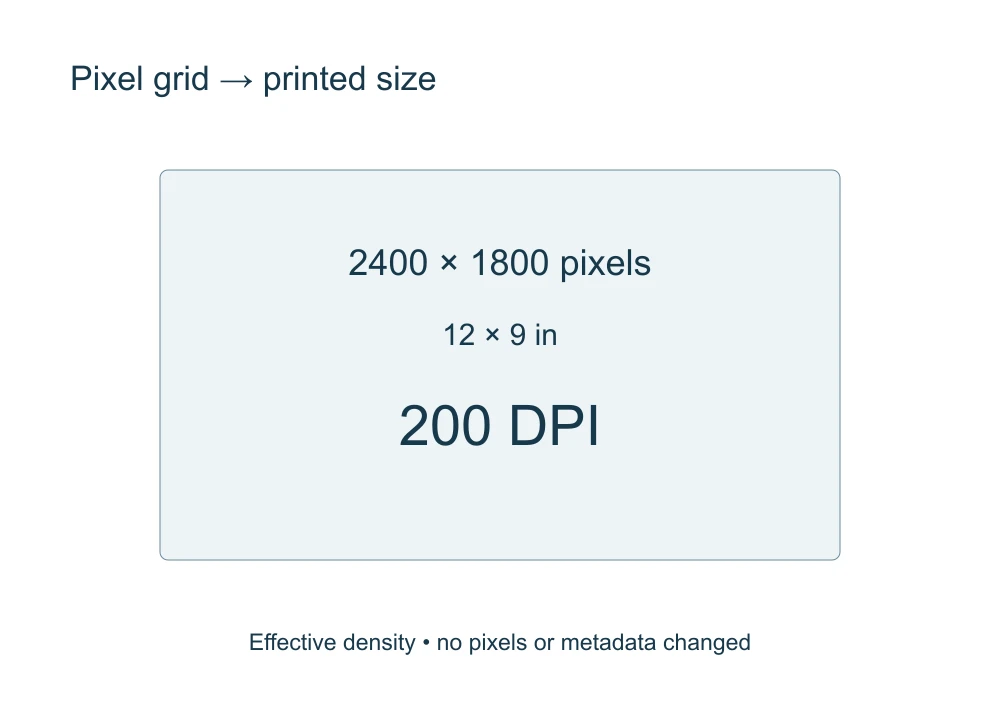
Example: larger print, lower effective DPI
The second example keeps the same pixel dimensions but enlarges the intended print to twelve by nine inches. Effective DPI becomes two hundred on each axis. Nothing about the underlying image has changed; the same pixels cover a larger physical area. A resolution tag stored in the file would not override this geometric relationship once you choose that print size. The example illustrates why an image can be adequate for one use and too coarse for another.
If your chosen target remains three hundred, the page reports that one or both axes are below target and shows the maximum size supported by the entered pixel grid at that target. You can reduce the physical dimensions or obtain a better source. Upsampling to a larger grid may satisfy a numeric pixel requirement, but it does not recreate details missing from the original. Treat that difference as a source-quality question, not merely a calculator setting.
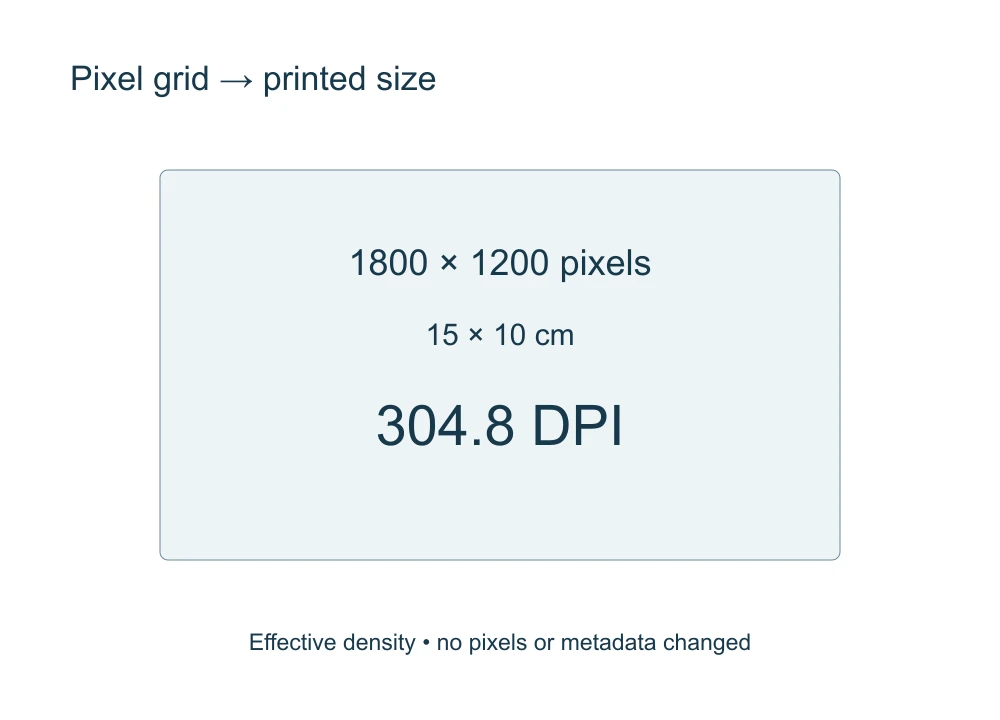
Example: a centimeter-based submission size
The third example uses eighteen-hundred-by-twelve-hundred pixels at fifteen by ten centimeters. Centimeters are converted to inches before division, producing approximately three hundred four point eight DPI in each direction. This shows why a physical-width value cannot be interpreted without its unit. Entering fifteen as inches instead would produce a very different result. The diagram below states the units alongside the dimensions to make the calculation inspectable.
Use this case when a destination specifies figure width in centimeters or millimeters. The page supports both, but changing the unit keeps the numerical entries rather than silently converting their values. Replace the dimensions accordingly. If you intend to describe the same size after a unit switch, calculate and enter its equivalent numbers. Inspect both axes and the aspect ratio message before copying the result into your figure-preparation notes.
Separate pixels, print dimensions and metadata
Pixel dimensions describe the raster grid stored in the decoded image. Print dimensions describe how large that grid will appear on the page. A DPI or PPI metadata field can provide a default physical-size interpretation in some software, but it does not add information to the grid. This calculator uses your entered pixel and print dimensions; it does not inspect or rewrite the source's resolution tags.
That distinction helps explain apparent disagreements between applications. One program may show a physical size derived from metadata, while another fits the image to a document column. The effective density at the chosen placement depends on the actual pixel grid and displayed physical dimensions. Record those two properties when preparing a figure rather than treating a single resolution label as sufficient. The calculator's downloadable report preserves the values you entered and the resulting axis-specific calculation.
Read dimensions from a supported image
Opening an image can save you from manually copying its width and height. The tool decodes PNG, JPEG or WebP files up to twenty megabytes and twenty-four megapixels, then fills the pixel fields from the decoded dimensions. The preview shows the selected image, while the physical-size fields remain under your control. If you later edit the pixel values, the calculation uses those entries rather than assuming they still describe the preview.
The uploader does not read PDF pages, vector geometry, TIFF metadata or scientific raw formats. It also does not evaluate sharpness or detect whether an image was previously enlarged. A twenty-four-hundred-pixel-wide file could have been exported from a detailed vector drawing or created by upscaling a much smaller raster. Both have the same grid width, but their usable detail can differ. Inspect the source and retain provenance alongside the numerical calculation.
Choose a target that matches the destination
Enter the target density specified for your intended use. Different kinds of artwork, submission systems and printers can have different requirements, so the default is only a starting value. The page compares horizontal and vertical effective DPI separately and reports whether both meet the chosen target. A passing comparison means the entered grid is dense enough for that numeric target at the entered size; it does not establish that the file meets every submission condition.
Check format, typography, color mode, dimensions and any separate requirements for line artwork or mixed figures in the destination's instructions. A screenshot containing tiny text may fail a readability review even when its calculated DPI passes. For a vector master, prepare the requested final export through compatible software. Do not convert vector artwork to an unnecessarily small raster simply because the submission instructions mention resolution.
Watch for mismatched aspect ratios
When the pixel width-to-height ratio differs from the print width-to-height ratio, the requested placement implies stretching, cropping or fitting with unused space. The calculator displays a message about that difference, but cannot know which operation your document software will use. The two reported DPI values describe the entered dimensions as if the entire pixel grid were mapped onto that physical rectangle. A cropped or proportionally fitted version needs its own calculation.
For example, placing a four-to-three image into a square could stretch the content if both dimensions are forced. Fitting without distortion may leave margins and use a smaller actual image width or height. Cropping removes some pixels before scaling. Determine the real placed size and usable grid, then calculate from those values. This is particularly important for figures whose geometry, scale bars or spatial relationships carry meaning.
Use maximum-size guidance sensibly
The calculator also shows the maximum physical width and height at your chosen target. Each value is the corresponding pixel dimension divided by target DPI, expressed in the selected unit. This gives you a useful upper bound for a uniform raster placement when the original ratio is retained. It does not mean that width and height can be independently stretched to arbitrary shapes without affecting the figure.
Use this guidance when deciding whether a figure can fit a column or page at the required density. If it cannot, try a higher-resolution export from the original authoring tool or a smaller physical placement. Preserve a vector master when available. Repeatedly changing the DPI metadata or enlarging an already rasterized file does not create new measurement detail. The distinction between geometric density and information quality should remain part of the decision.
Keep the calculation reproducible
Download the text report when you want a simple record of the input dimensions, unit, target and effective DPI values. It does not modify the selected image or attach a journal certificate. Keep it alongside the source file and export settings if you need to explain how the final raster was prepared. The report is only as accurate as the values you entered and the assumption that they describe the actual printed placement.
If the figure is later cropped, resized or placed at a different width, recalculate it. A report prepared for an earlier version should not be reused without checking. Verify the downloaded image's true pixel dimensions in your final workflow, particularly when a presentation or document application resamples images during export. The browser tool cannot observe those later transformations, so its result should be treated as a preparation check at a specified point in the process.
Inspect readability after the arithmetic
View the figure at the intended physical size in your final document or a representative preview. Check small labels, axis ticks, legends, line weights and scale bars. A number alone cannot tell you whether these elements remain readable. If text was baked into a low-resolution source, increasing output dimensions may create smoother-looking edges without restoring the original letter shapes. Return to editable artwork when possible rather than repeatedly resampling a poor export.
The teaching examples illustrate the formula and unit handling only. They are not publication images or a test of a printer. Your own figure should satisfy both the numerical constraints and the practical communication task. Use a collaborator's review to catch unclear annotations, and confirm the destination's actual requirements before submission. Effective DPI is useful because it is simple and explicit; keeping that narrow scope prevents it from being mistaken for a complete quality assessment.
Questions about publication resolution
Does changing DPI add detail?
No. More useful source detail requires a better original or a suitable new export, not a changed metadata label.
Why are horizontal and vertical DPI different?
The entered pixel and print shapes differ, or the source has been placed nonuniformly. Check aspect ratios and the actual fit or crop operation.
Can I use this for SVG?
Vector artwork has no single fixed raster grid until rasterized. Calculate from the final raster export when one is required.
Does the tool upload my image?
Pixel dimensions are read locally. The report is generated in the browser and does not modify the image. Opening a file does not create a paid task, require login or change account credits.