Your methodology diagram is nearly ready. The structure works, but “Model A” needs to become “Proposed method,” one module needs a different color, and the labels must stay in English for your paper.
PaperBanana now has an Edit an image tab, powered by GPT Image 2.5. Start with an existing figure, describe the change, and create a new version you can compare with the original.
Start with the figure you already have
There are two ways to open an image:
- From a generation result: click Continue editing below a figure you just generated. It opens in the editing tab on the same page.
- From your own file: select Edit an image in the generator, then Upload a figure. Upload a PNG, JPG or WebP up to 10 MB, with an aspect ratio between 1:3 and 3:1.
Sign in to upload and submit edits. Your existing credits cover successful edits; changing tabs or looking at saved versions does not spend credits.
A real editing example
We started with this synthetic research workflow. The middle module is blue and labeled “Model A.”
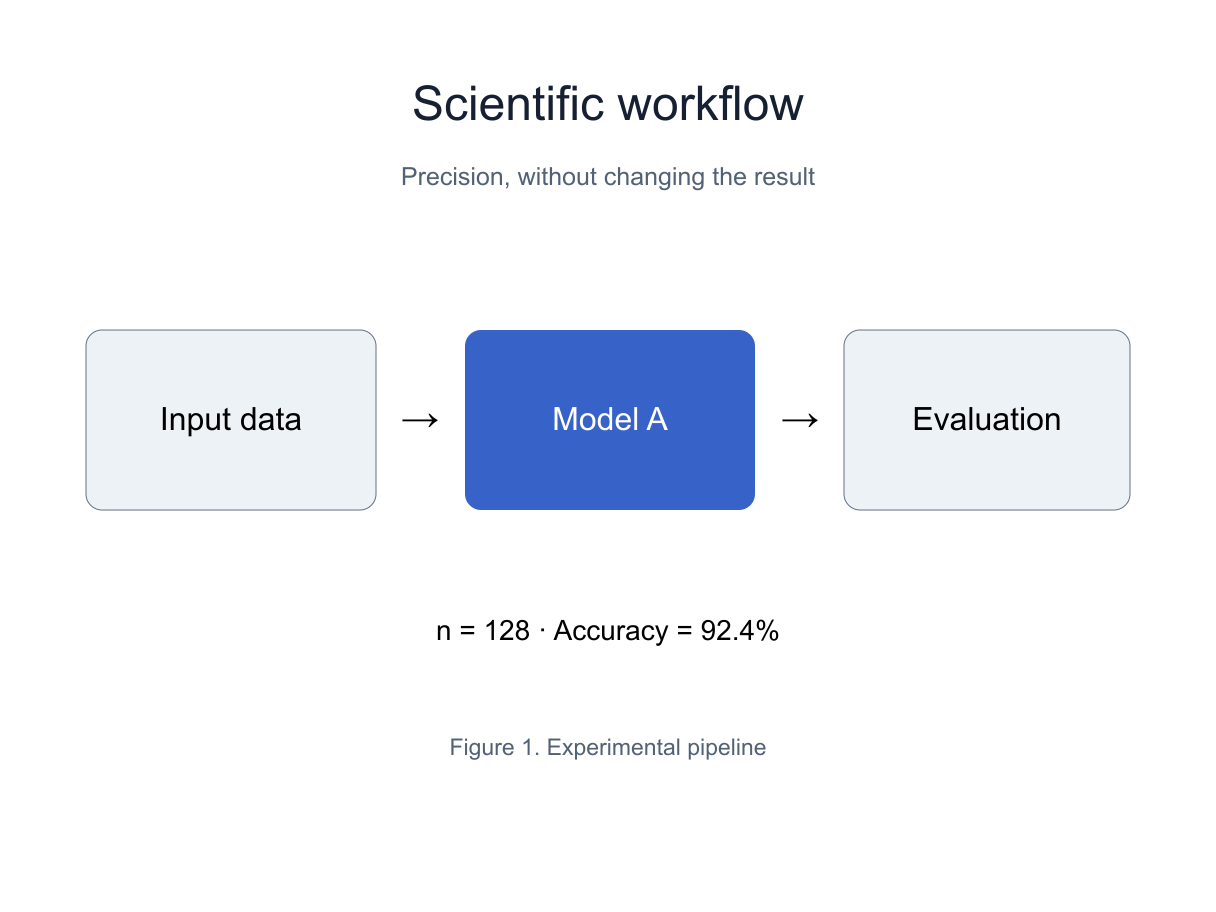
First, we asked for a teal module while keeping the English labels. Then we selected the middle area and asked to change the label to “Proposed.” The image below is the output from that second edit, with no manual retouching.
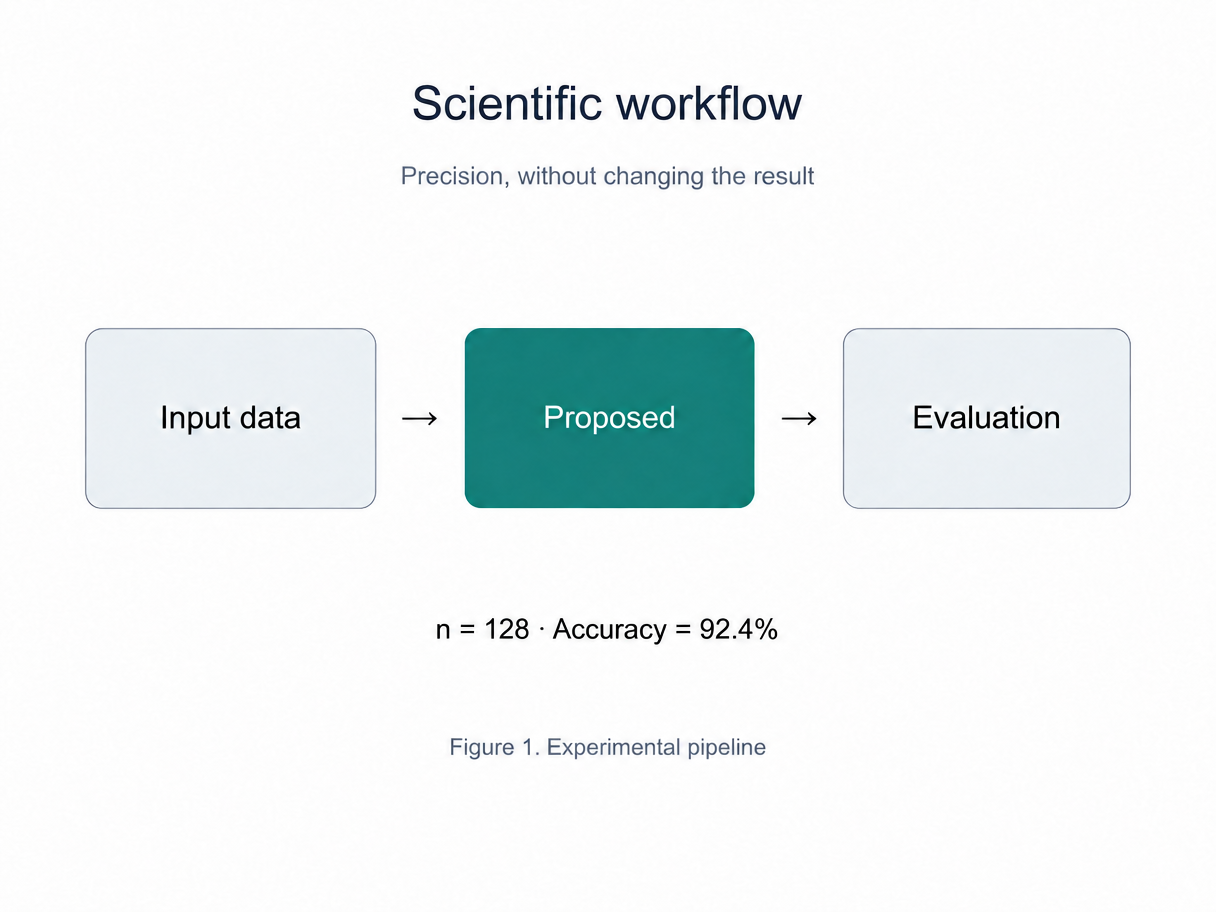
This synthetic diagram illustrates the workflow: make a focused change, inspect the output, and keep the version that meets your needs.
How to make an edit
- Open your image. Use Continue editing on a generation result, or upload a file in Edit an image.
- Describe the change. Name the element, the replacement, and any details that must remain unchanged.
- Optionally select an area. Click Select an area, then drag across the figure. You can also enter the position and size as percentages.
- Choose the language and quality. Keep the original language unless you want a translation. Choose Standard or HD.
- Click Create edited version. When it completes, compare it with the original and click either image to view it at a larger size.
- Keep or continue. Click Use this version, download the image, or select another saved version as the starting point for your next edit.
The editing tab keeps your current instructions and area selection when you switch to another generator tab. Completed edits appear in the version list. The original remains available, and Restore original lets you return to it after adopting a version.
Prompts for common research revisions
Specific instructions make the intended change easier to judge. Start with one revision at a time.
Rename a label
Replace “Model A” with “Proposed method” in the middle module. Keep the other labels, arrows, colors and layout unchanged. Keep all figure text in English.
Use quotation marks around the exact old and new text. For dense figures, select the area around the label so the target is clear.
Match a color palette
Change the blue modules to teal. Keep their labels, positions and sizes unchanged. Preserve all numbers and connections.
If your publication requires exact color values, include the color code in your instructions and check the exported result.
Adjust a connection
Change the arrow from the middle module to Evaluation to a dashed arrow. Keep its direction and all other connections unchanged.
Check arrowheads and endpoints in the enlarged preview. A changed connection can alter the meaning of a scientific diagram.
Translate figure text
Choose a target under Translate figure text to, then describe what to translate:
Translate the labels into the selected language. Preserve the layout, numbers, mathematical symbols and technical abbreviations.
The default is Keep original language. Writing your editing instructions in another language does not itself request a translation.
Credits and saved versions
| Action | Credits |
|---|---|
| Successful Standard edit | 5 |
| Successful HD edit | 15 |
| Failed edit | 0 |
| Preview, compare, select a saved version or restore the original | 0 |
Each submitted edit creates a new task. Credits are charged when it succeeds. Review the result before using it in a manuscript: successful processing does not mean the figure has been scientifically validated.
Check the whole figure before using it
Area selection guides the model. It does not guarantee that every pixel outside the selected area will stay identical. Labels, numbers, line weights or small details can still change elsewhere.
Compare the versions and check the enlarged image, especially data values, units, symbols, labels and connections. Verify quantitative content against your original research data.
For direct manipulation of individual vector elements, PaperBanana also has the Convert workflow for editable SVG. Use that when you want to select and edit text or shapes yourself.
Try it on your next revision
Open Edit an image, upload a figure or continue from a generation result, and describe one change. Compare the output before moving on to the next revision.
If a particular figure type is difficult to edit, use the in-app feedback button to tell us what you were trying to change.